

Mini split installation cost in the Rio Grande Valley comes down to six things: zone count, the tonnage of each head, wall material, line set length, electrical work at the panel, and where the condensate water can drain. One head on a frame wall above the condenser is the simplest job.
Ask three contractors for a price and you may hear three very different numbers for what sounds like the same job. That gap usually is not padding. Once you know which parts of a Valley install move the total, you can compare bids fairly and choose the system that fits the house instead of the cheapest line on a page.
This article covers the cost drivers we see on mini-split installation jobs around Starr and Hidalgo counties. We do not publish prices, because they swing with equipment availability and the specifics of each home, but the factors below are what any honest quote should spell out.
Single-zone or multi-zone: the first fork in the road
A single-zone system is one outdoor condenser feeding one indoor head. It suits a converted garage, a bedroom addition or a living room that a window unit can no longer keep up with. A multi-zone system runs two to five heads from one larger condenser.
Multi-zone setups save wall space outside and need only one outdoor circuit, which helps on tight lots. The trade-off is that multi-zone condensers and their matched heads cost more per room, and every head still needs its own line set, drain and communication wire run back to the outdoor unit. On a long, room-by-room block house, those runs add up quickly.
There is also a reliability angle. If a multi-zone condenser fails in August, every room it serves goes warm at once. Two separate single-zone systems mean one failure leaves the rest of the house cool.
What changes the price on the install side
The equipment line is just one piece. The labor and materials that connect it to your home are where quotes really separate. This table lays out the common factors.
| Cost factor | Pushes cost up when… | Usually simpler when… |
|---|---|---|
| Wall material | Line set hole goes through block, brick or sandstone | Wall is wood frame with vinyl or siding |
| Line set length | Head and condenser are on opposite sides of the house | Head sits on an outside wall right above the condenser |
| Electrical | Panel is full or needs a new breaker space and long wire run | Panel has room and sits close to the outdoor unit |
| Condensate drain | Water must be pumped up or routed away from a walkway | Drain can fall by gravity to a safe spot outside |
| Mounting | Condenser needs a wall bracket, raised stand or new pad | An existing level pad is in the right place |
| Number of heads | Several rooms, each with its own run and drain | One room, one head |
| Line-hide covers | Customer wants finished covers along every run | Short exposed run is acceptable |
Block, brick and older masonry walls
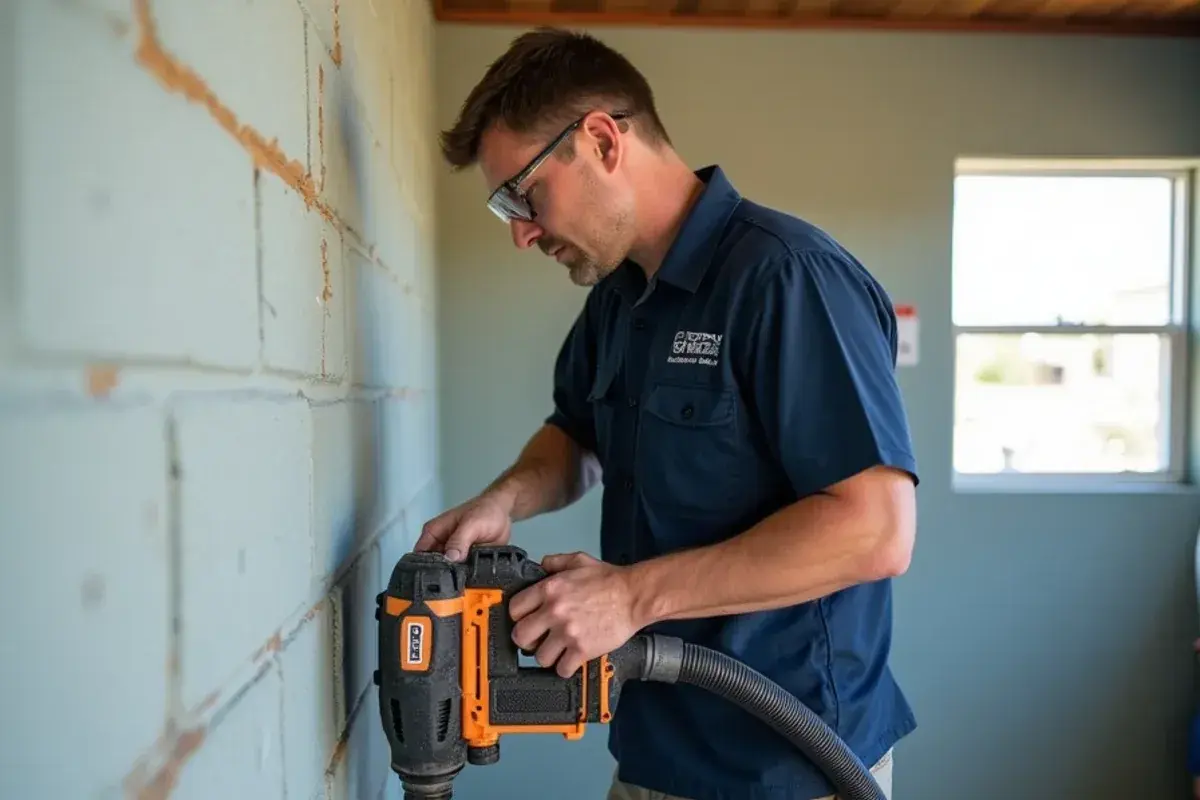
Many homes in the Valley are built from cinder block, and older buildings in towns like Roma use brick or sandstone. Getting a three-inch sleeve hole through those walls takes a core drill and careful setup to avoid cracking the face. It is slower than cutting through wood frame, and that time shows up in labor.
Electrical work you may not see coming
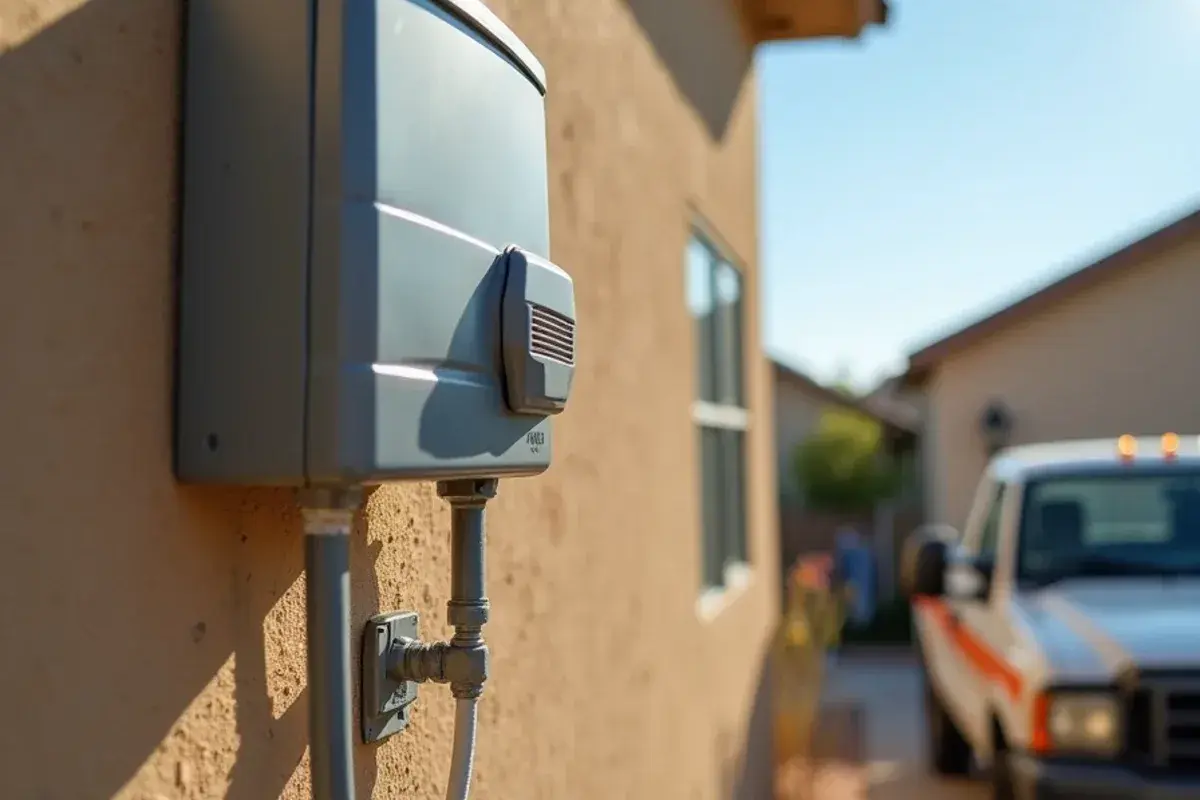
Nearly every mini-split needs a dedicated breaker, a weatherproof disconnect near the condenser, and a short flexible conduit called a whip that connects the two. If your panel is full, or the wiring to an older home is undersized, a quote may include panel work. That is a real cost, not an upsell, and skipping it is how units trip breakers or damage control boards.
Sizing: why a 2-ton unit is not automatically the answer
Searches for "2 ton mini split cost" are common because 24,000 Btu feels like a safe choice for a big room. Trouble is, a head with too much capacity drops the room temperature in a few minutes and then idles, so the coil barely has time to wring water from the air. Summers along the river are humid, and the room ends up chilly yet damp.
A proper quote should come from a load estimate that looks at room size, window area and direction, ceiling height, insulation and how many people use the space. Sometimes the right answer is a 2-ton head. Sometimes it is a 1.5-ton head, or two smaller heads in rooms that are closed off from each other. Paying for capacity you do not need costs more up front and gives worse comfort.
DIY kits and Mr Cool units: where a professional still fits
DIY-style mini-splits, including the Mr Cool DIY line, come with precharged line sets and quick-connect fittings. That removes the vacuum pump and refrigerant gauges from the job, which is the main reason people consider installing them themselves.
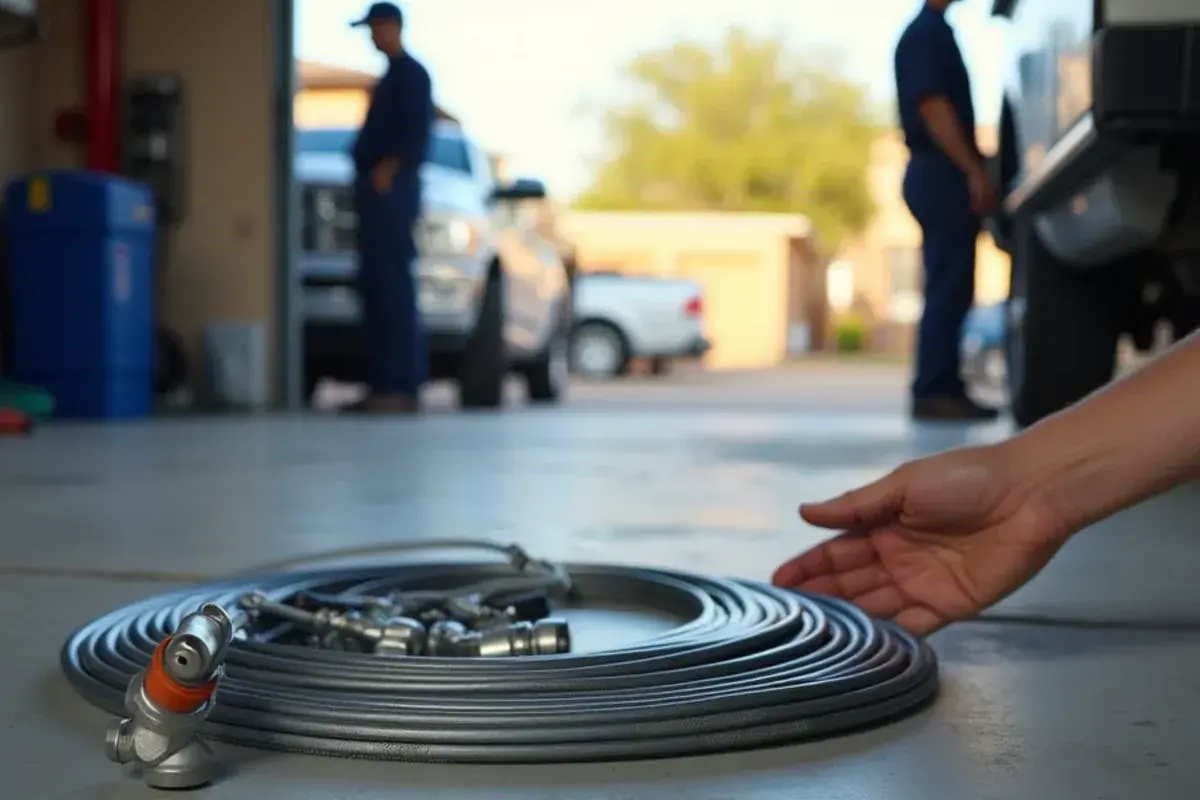
What the kit does not remove is the electrical work, the wall penetration, the mounting and the drain routing. Homeowners commonly call for help with exactly those steps, or after a first attempt leaves a kinked line or a head that drips inside. Read the manufacturer's warranty terms before you start, since warranty coverage can depend on how the unit was installed and registered.
If you are weighing a DIY kit, ask for a quote on just the electrical and mounting. Comparing that against a full professional install with conventional equipment gives you a clear picture.
Mini-split versus central air on cost
In a house without ducts, going central requires designing and building every supply and return run first, which is a major project. A ductless system skips that entirely, so for additions, older houses and manufactured homes, mini-splits are often the more practical path. In a home that already has sound ductwork, replacing the central system can make more sense than adding several heads.
In larger Hidalgo County communities such as La Homa, where many homes are self-built or manufactured, the deciding factor is usually what exists today. Our ductless mini-split overview explains how the systems differ in day-to-day use.
What a technician knows about the hidden steps in a quote
Two bids can list the same equipment and still describe very different jobs. The gap is often in steps a homeowner never sees, because they happen inside the copper before the system is switched on. These are the ones worth asking about by name.
- Flare connections made to torque. Conventional mini-splits join the line set to the units with flare fittings. Too loose and they leak slowly; too tight and the flare cracks. A torque wrench sized for each pipe diameter is the difference, and it takes minutes, not hours.
- A nitrogen pressure test. Before any refrigerant is released into the lines, the installer fills them with dry nitrogen and watches the gauge. A drop points to a bad flare or a nicked pipe while it is still easy to fix.
- A deep vacuum, read on a micron gauge. Pulling a vacuum boils off moisture and air inside the lines. Moisture left behind mixes with refrigerant oil and shortens the life of the compressor. A micron gauge shows when the lines are truly dry instead of guessing by time.
- Line length checked against the manual. Each condenser ships with refrigerant for a set length of line. Longer runs may need refrigerant added by weight, and every model has a maximum length and height difference the maker allows.
- A drain with steady fall. The condensate line has to slope downhill the whole way, or water sits in the head and drips onto the wall. In humid months near the river, a mini-split pulls a lot of water out of the air.
An honest trade-off: none of these steps adds much to the bill, but skipping them is how a low quote saves time. The cost shows up later, as a slow leak, a noisy compressor or a stained wall under the head. If a bid does not mention a pressure test or an evacuation, ask how the installer handles them.
Precharged DIY kits skip steps 2 and 3 by design, which is why their quick-connect fittings have to be handled carefully. A fitting that is cross-threaded or a line bent too tightly cannot be fixed by tightening it again.
How to compare two mini-split quotes
When bids arrive, line them up on the same points:
- Exact equipment model numbers and capacity for each head and condenser
- Efficiency rating (SEER2) and the refrigerant type
- Line set length included, and the charge for any extra length
- Electrical scope: breaker, disconnect, whip, and any panel work
- How the condensate drain will be routed
- Pad, bracket or stand for the outdoor unit
- Who registers the manufacturer warranty and what it covers
- Whether permits or inspections are included where required
Anyone doing A/C work for hire in Texas needs a TDLR licence, and you can search a contractor by name on the TDLR website before you sign. Ask about financing up front if you need it; it is available, and knowing early helps you choose equipment.
Putting it together
The cheapest mini-split quote is not always the best value, and the most expensive is not always the most thorough. Focus on whether the quote matches your rooms, your walls and your panel. Get the sizing right, insist on a clean electrical install and a drain that goes somewhere sensible, and the system will cool well through many Valley summers. To get a quote built around your rooms, call 956 Multi Service at (213) 423-7827 and tell us the town, how many rooms you want cooled and what the walls are made of.